
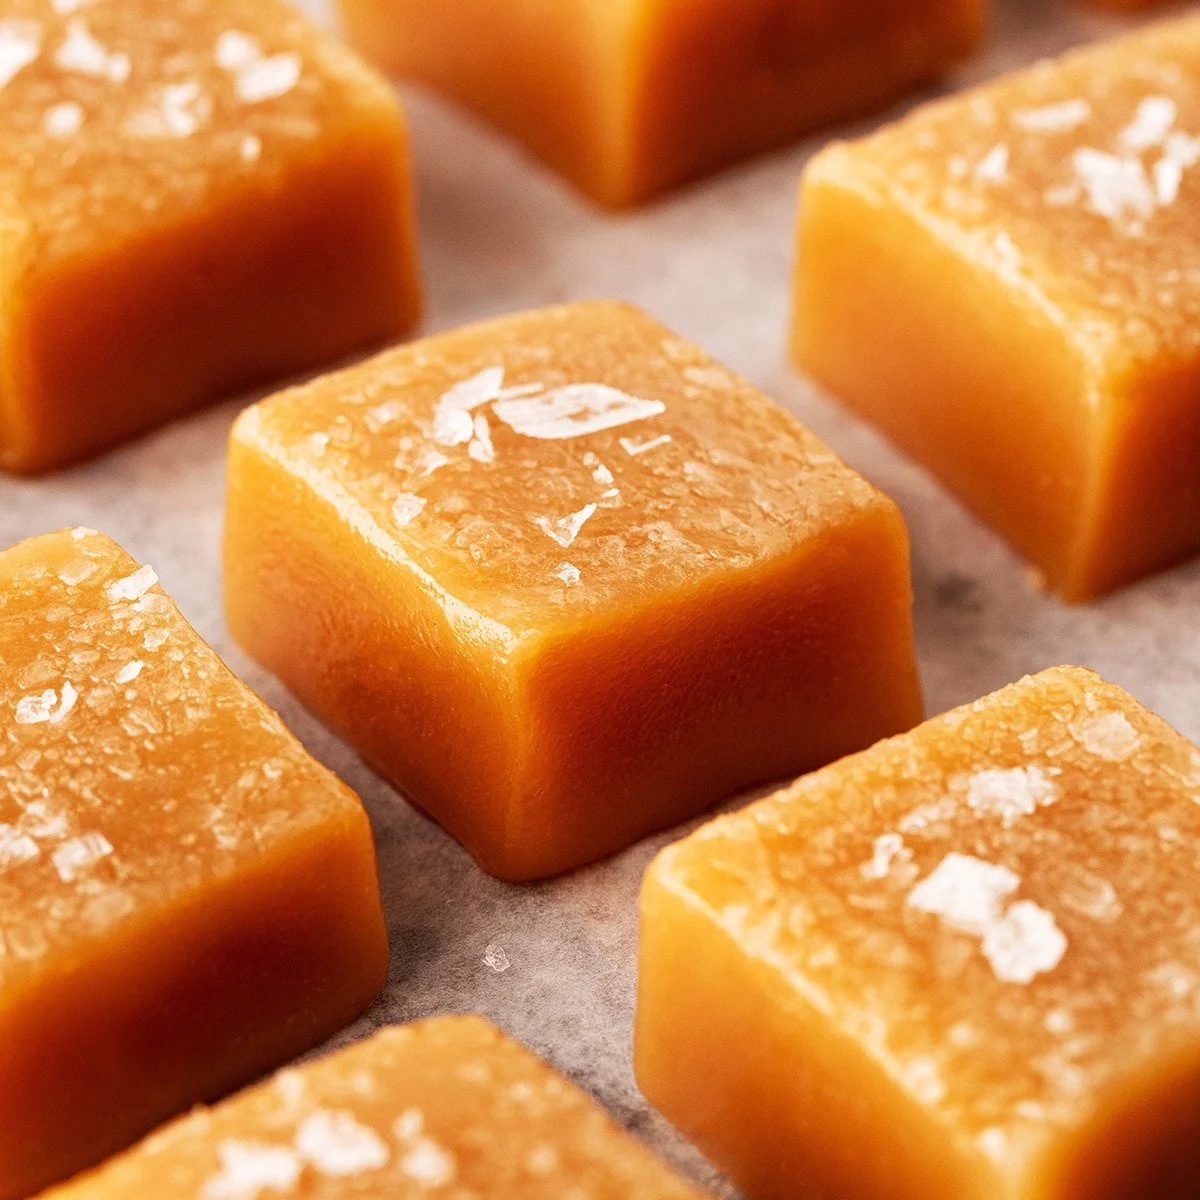
Homemade Salted Caramels brings a world of indulgent sweetness to your kitchen, transforming simple ingredients into a delightful, nostalgic treat. The rich, buttery flavors combined with a touch of sea salt create an irresistible contrast that melts in your mouth. Making these caramels is not just about satisfying your sweet tooth; it’s about crafting a comforting experience, perfect for sharing with family and friends or indulging on a quiet evening. This recipe is a true gem, offering a step-by-step guide to creating soft, chewy caramels that will impress anyone who tries them.
Ingredients
To make these delectable Homemade Salted Caramels, you will need:
- 1/2 cup unsalted butter: Cubed and creamy, it provides that essential richness.
- 1/2 cup heavy cream (whipping cream): Adding a luxurious texture and flavor, for that melt-in-your-mouth sensation.
- 3 Tbsp water: Essential for dissolving the sugar.
- 1/4 cup light corn syrup: This helps to prevent crystallization, ensuring your caramels are smooth and silky.
- 1 cup white sugar: Sweet and indulgent, it’s the primary source of sweetness for our candy.
- 1 tsp sea salt: The sprinkle of salt complements the sweetness, enhancing the flavors beautifully.
Step-by-Step Directions
Begin your candy-making adventure by preparing your loaf pan. Spray a 5 x 9-inch loaf pan with cooking spray, then line it with waxed paper. Remember to fold the corners, allowing the waxed paper to rise at least 2 to 3 inches above the pan. This will make for easy removal later. Set the pan aside as you prepare your caramel mixture.
Next, cube the unsalted butter and place it in a microwave-safe bowl alongside the heavy cream. Heat this mixture in 30-second increments until the butter is completely melted. Once melted, set the bowl aside to let it cool slightly.
In a medium saucepan, combine the water and light corn syrup. Carefully add the white sugar, stirring gently to combine. It’s essential to ensure that the sugar mixes well with the liquid before heating.
Now, bring the mixture to a boil over medium heat. It’s crucial not to stir during this phase; instead, cover the saucepan and let it simmer for about one minute. This step prevents any sugar from sticking to the sides of the saucepan—a key component for achieving the perfect texture.
After a minute, remove the lid and continue boiling the mixture without stirring for 5 to 8 minutes. Here, a candy thermometer comes in handy. You want to cook the mixture until it registers a temperature of 320 degrees F. Watch closely as the mixture transforms into a light amber color around the edges of the pan, but be careful not to overcook it!
Once you’ve reached 320 degrees F, it’s time to add the melted butter and cream mixture. Pour in about 20% (or 1/5th) of the mixture slowly, stirring until it’s fully combined. Be cautious; this step will cause the mixture to foam. Repeat this process, adding the remaining butter and cream in increments until it’s all mixed in.
The temperature will drop after adding the butter and cream; continue cooking the mixture over medium heat for an additional 5 to 8 minutes. Monitor the temperature until it reaches between 240 degrees F (for soft, chewy caramel) and 245 degrees F (for a harder caramel).
Once your caramel reaches the desired temperature, remove it from the heat and carefully pour it into the prepared loaf pan. Don’t forget to sprinkle the sea salt evenly over the top while the caramel is still hot—this allows the salt to meld beautifully with the sweetness.
Let the caramel cool at room temperature for approximately three hours. For a firmer texture, place the pan in the refrigerator for about an hour, making it easier to cut later.
To cut the caramels, carefully pull out the waxed paper from the loaf pan and transfer the caramel slab onto a cutting board. Using a sharp knife, slice the caramel into cubes, aiming for a size of about 1/2 to 3/4 inch.
Lastly, cut small squares of waxed paper, approximately 3 inches each, to wrap each caramel. This ensures they stay fresh and makes for beautiful packaging, perfect for gifts!
Tips & Tricks
- Make sure to keep a close eye on the candy thermometer; caramel can quickly go from perfect to burnt.
- For extra flavor, consider adding a splash of vanilla extract to the butter and cream mixture before combining it with the sugar.
- If you want to experiment with different salts, try using fleur de sel or Himalayan pink salt for a unique twist.
- For fun variations, stir in a few drops of food coloring to create seasonal treats or experiment with adding nuts or other flavorings.
Serving Suggestions & Pairings
Homemade Salted Caramels can be enjoyed on their own as a delectable treat. Alternatively, they pair beautifully with a hot cup of coffee or tea, enhancing your everyday beverage experience. These caramels also make fantastic additions to dessert platters for festive occasions or holiday gatherings, providing sweetness alongside cheese, fruits, or chocolates. Wrapped nicely, they can serve as thoughtful gifts during special celebrations.
Nutritional Information
Each homemade salted caramel contains approximately 80 calories. Caramels are primarily made up of sugars, fats, and negligible protein. They provide a wonderful indulgence, but it’s wise to enjoy them in moderation as part of a balanced diet, especially if you’re keeping an eye on your sugar intake.
Storing Tips & Variations
Store your cut caramels in an airtight container at room temperature for up to two weeks. For longer storage, these caramels can be frozen; simply layer them between sheets of waxed paper in an airtight freezer-safe container. When you’re ready to enjoy again, just let them thaw at room temperature.
For variations, consider infusing your caramels with flavors such as espresso, orange zest, or even a hint of spice. Each twist brings a different dimension to this delightful treat, ensuring you never tire of making them.
Conclusion
Homemade Salted Caramels are not just a sweet treat, but an experience filled with comforting flavors and delightful textures. Encouraging you to try this easy recipe will allow you to indulge in nostalgia while creating moments worth sharing. Whether enjoyed alone or gifted to others, these caramels are sure to impress! Get into your kitchen and enjoy making these delicious bites of bliss today.
FAQs
1. How do I know when the caramel is done cooking?
The caramel is done cooking when it reaches a temperature of 240 to 245 degrees F, depending on whether you prefer softer or firmer caramels. Use a candy thermometer for the most accurate measurement.
2. Can I make these caramel without a candy thermometer?
While a thermometer provides precise measurements, you can also use the cold water test. Drop a small amount of the hot caramel into cold water; if it forms a soft ball for chewy caramel or a firm ball for harder caramel, it’s ready.
3. Why did my caramel turn out grainy?
Graininess often results from sugar crystals forming during cooking. To prevent this, avoid stirring once the sugar has begun boiling, and ensure all sugar dissolves before boiling.
4. Can I double the recipe?
Yes! If you want to make a larger batch, double all the ingredients and use a larger saucepan. Just be careful with cooking times as they may vary when increasing the quantity.
5. How can I customize flavors in my caramels?
Feel free to add flavorings such as vanilla extract, cinnamon, or espresso powder when mixing in the butter and cream. Additionally, you can mix in crushed nuts or dried fruit for added texture and taste.
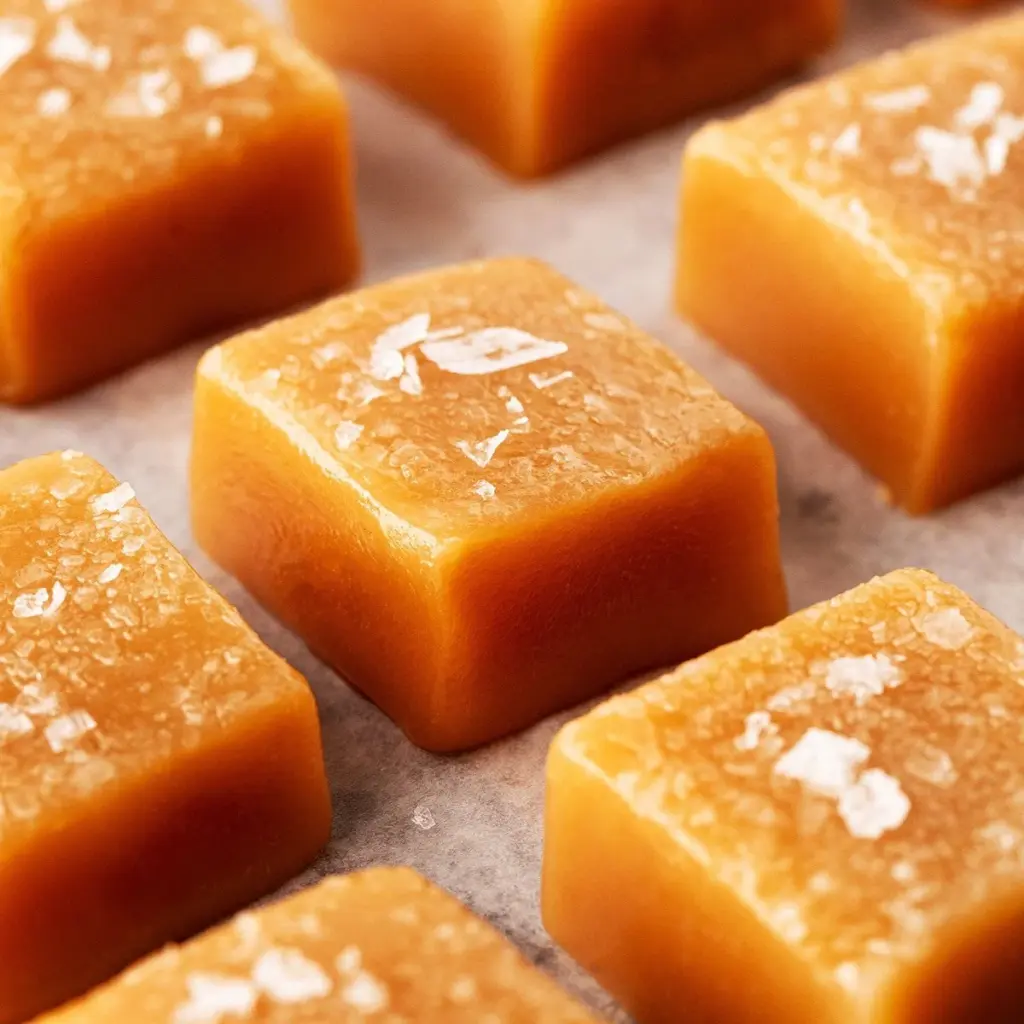
Homemade Salted Caramels
Ingredients
Method
- Spray a 5 x 9-inch loaf pan with cooking spray and line it with waxed paper, folding the corners up.
- In a microwave-safe bowl, combine unsalted butter and heavy cream. Heat in 30-second increments until melted. Let it cool slightly.
- In a medium saucepan, combine water and light corn syrup. Add white sugar and stir gently to combine.
- Bring the mixture to a boil over medium heat without stirring, then cover and simmer for one minute.
- Remove the lid and continue boiling for 5 to 8 minutes without stirring until it reaches 320 degrees F.
- Slowly add melted butter and cream mixture in increments, stirring until fully combined. Watch for foaming.
- Continue cooking for another 5 to 8 minutes until the temperature reaches between 240 to 245 degrees F, for chewy or firmer caramels.
- Carefully pour the caramel into the prepared loaf pan and sprinkle sea salt over the top while it’s still hot.
- Let the caramel cool at room temperature for about three hours, or refrigerate for one hour for a firmer texture.
- Transfer the caramel slab to a cutting board and slice it into cubes of about 1/2 to 3/4 inch.
- Cut small squares of waxed paper (approximately 3 inches each) to wrap each caramel.

Leave a Reply