
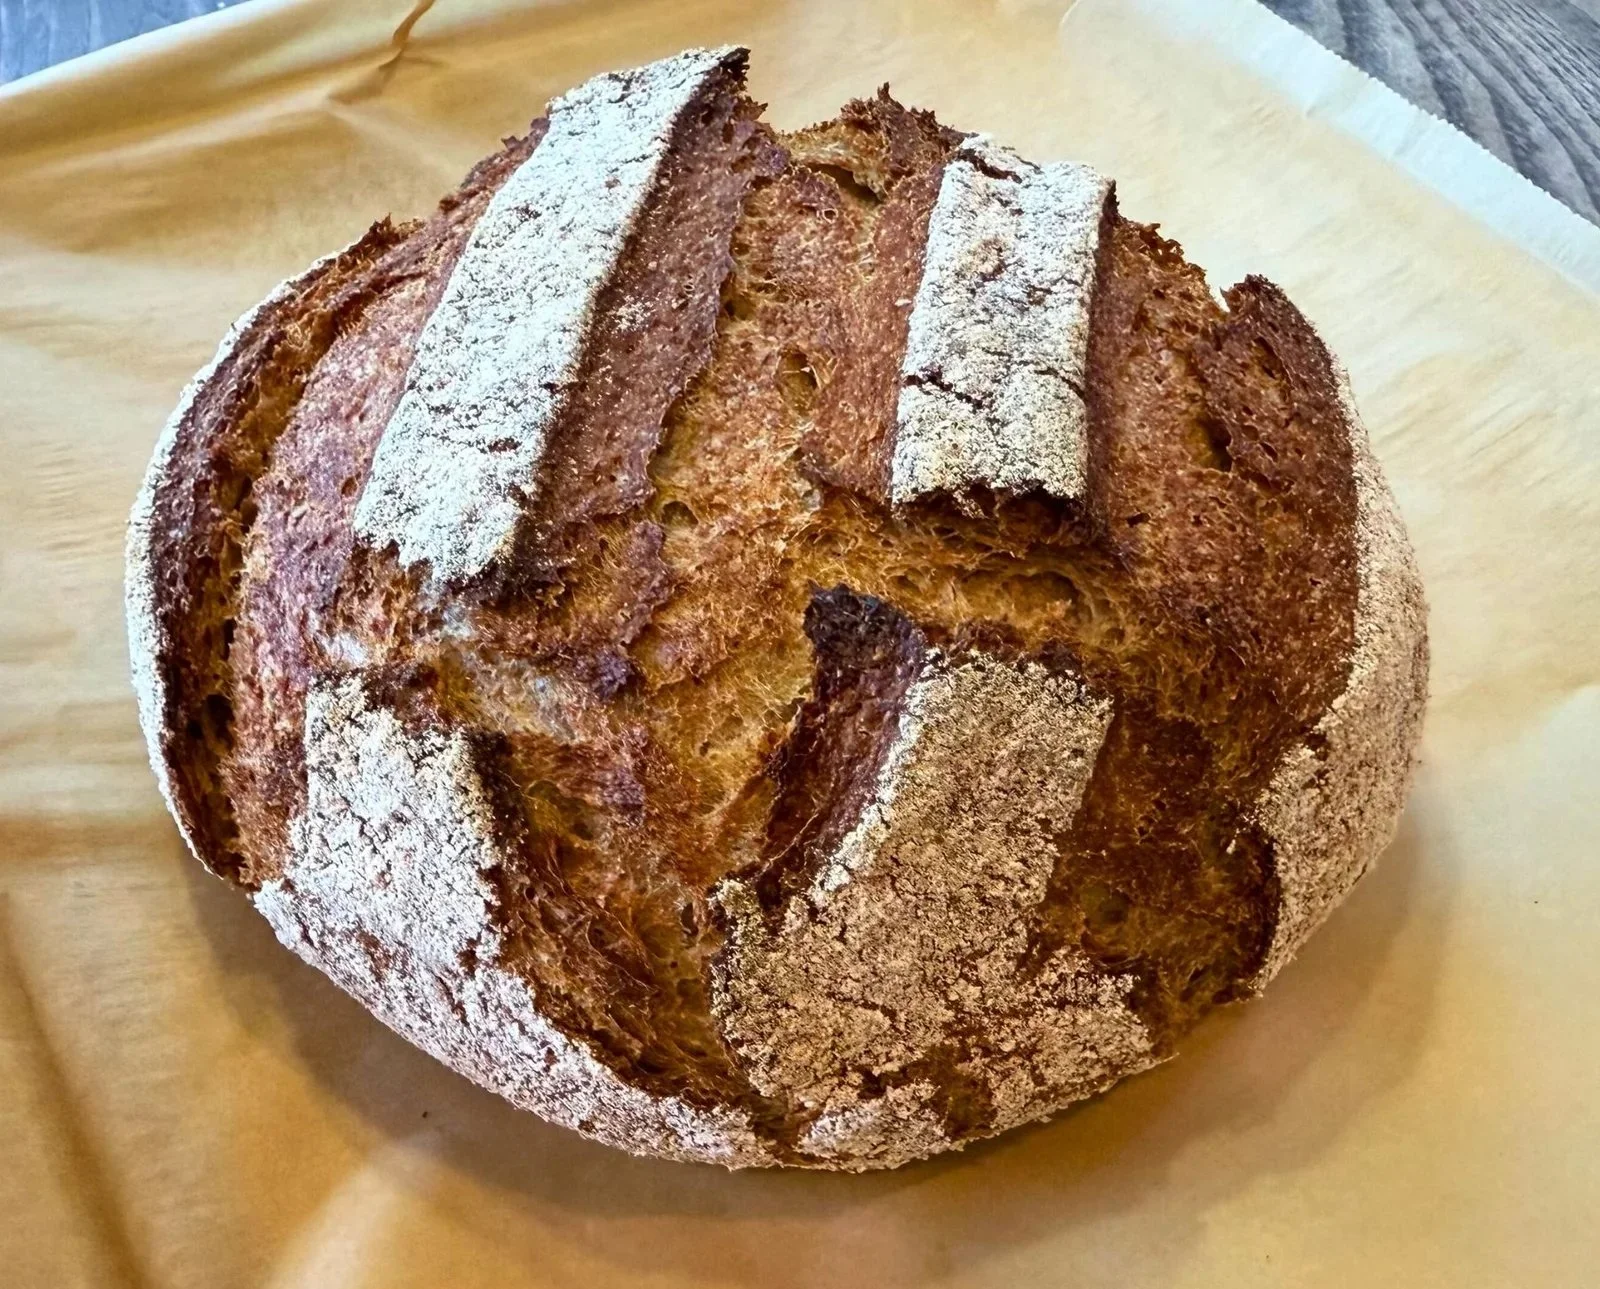
Fresh Milled Flour Crusty Spelt Bread is a delightful journey into the world of wholesome baking. The combination of fresh milled spelt flour and warm water transforms into a beautiful loaf, inviting you with its rustic aroma and golden-brown crust. Making this bread is not just a task; it’s an experience that fills your home with warmth and a sense of nostalgia. Easy to make and utterly satisfying, this recipe is perfect for anyone looking to add a touch of comfort to their meals. With this step-by-step guide, you’ll be crafting your loaves in no time!
Ingredients
To create your Fresh Milled Flour Crusty Spelt Bread, you will need the following ingredients:
- 3 to 4 cups of fresh milled spelt flour: Start with 390g and reserve some extra for shaping. The aroma of freshly milled flour elevates the experience, promising a rich, nutty flavor throughout your loaf.
- 2 tsp sea salt: This essential ingredient enhances the natural taste of the bread while contributing to its crusty exterior.
- 1 tsp instant yeast: Alternatively, active yeast can be used—just remember to bloom it first with warm water and a pinch of sugar. This helps achieve that perfect rise.
- 1 cup warm water (240g): Ensure that the temperature is between 90-110°F, as overly hot water can kill the yeast, causing your loaf not to rise.
- Optional: 1 TBSP honey (21g): Adding honey introduces a hint of sweetness, balancing the savory notes of the bread.
Step-by-Step Directions
Milling the Flour
Begin your baking adventure by milling the spelt flour if you’re using whole grains. This process releases essential oils and enhances the taste, turning your loaf into a fresh masterpiece.
Mixing the Ingredients
In a large bowl, combine the freshly milled flour with sea salt and instant yeast. For best results, place the yeast on one side and the salt on the opposite side of the bowl before giving it a gentle stir. This technique ensures that the yeast is not directly exposed to the salt, allowing optimal activation.
Incorporating Water
Next, gradually add the warm water to the dry mixture. If you’re including honey, this is the perfect moment to incorporate it. Stir everything together until a shaggy, somewhat dry dough begins to form. If your dough appears too sticky, don’t hesitate to sprinkle in more flour until you achieve the desired consistency.
Allowing the Dough to Rise
Cover the bowl with a clean cloth and allow the dough to rise at room temperature until it doubles in size—this usually takes around three hours. Take note: if your kitchen is cool, the rising process may take a bit longer; however, in warmer environments, it may occur more quickly.
Shaping the Dough
Once your dough has risen beautifully, it’s time for shaping. Lightly mill some additional spelt flour for dusting. Transfer the dough onto a well-floured surface. With the bottom of the loaf facing up, fold the edges into the center, then flip it over so the top faces up. Gently cup and shape the dough into a tight, smooth ball, ensuring some surface tension forms. This is vital for a well-structured loaf.
Preparing for Baking
Carefully place the shaped loaf onto a piece of parchment paper, dust the top with the leftover flour, and score it if you wish. Scoring allows for controlled expansion during baking, preventing unexpected splits on the surface. Next, cover the dough with an upside-down bowl and allow it to rise for another 20-30 minutes while your oven preheats.
Preheating the Oven
Preheat your oven to 450°F, ensuring that your Dutch oven and lid are inside during the preheat. This step is crucial as it creates a steam environment, leading to the crusty exterior we crave.
Baking the Bread
Once the oven is hot and the loaf has had a final rise, carefully transfer it using the parchment paper as handles into the hot Dutch oven. Place the lid on and bake for 35 minutes. Be cautious as you lift the lid to avoid burns! After 35 minutes, remove the lid and bake for an additional 10-20 minutes. The bread is ready when its internal temperature reaches 205°F.
Cooling the Bread
Once baked to perfection, remove the loaf using the parchment paper and allow it to cool on a wire rack. Patience is key here; letting it cool enhances the textures and flavors before you slice into it.
Enjoy!
Now, it’s time to slice that warm, crusty bread and enjoy all its delightful flavors.
Tips & Tricks
For the best results, consider these additional pointers:
- Hydration: Different types of spelt flour may require varying amounts of water. Adjust as necessary to achieve a shaggy dough.
- Flavor Depth: Experiment with adding seeds or herbs into the dough for extra flavor.
- Cold Rise: If you want to prepare the dough the night before, you can refrigerate it for slow fermentation, enhancing the taste.
- Steam Effect: For that extra-crisp crust, a small dish of water can be placed in the oven alongside the loaf.
Serving Suggestions & Pairings
Fresh Milled Flour Crusty Spelt Bread complements a variety of dishes beautifully. Enjoy it warm with a spread of creamy butter, homemade jams, or a drizzle of olive oil accompanied by balsamic vinegar. Pair it with hearty soups, salads, or as part of a rustic cheese platter at your next gathering.
Nutritional Information
Each slice of this delicious bread contains approximately 120 calories, along with valuable nutrients such as fiber, protein, and several vitamins typically found in whole grains. This makes it an excellent addition to an overall balanced diet, especially when served with wholesome toppings.
Storing Tips & Variations
To store your freshly baked bread, wrap it in a cloth or paper bag to maintain its crustiness, or opt for an airtight container for a softer crust. If you have leftovers or want to make extra loaves, consider freezing them. Slices can be easily reheated and enjoyed warm. For variations, try adding ingredients like nuts, seeds, or spices to personalize your loaf.
Conclusion
Fresh Milled Flour Crusty Spelt Bread is more than just a recipe; it is a chance to connect with your kitchen and embrace the art of baking. With its simple ingredients and step-by-step guidance, now is the perfect time to create this comforting loaf. Give it a try, and don’t forget to share your experience!
FAQs
1. Can I use regular all-purpose flour instead of spelt flour?
Yes, you can substitute all-purpose flour; however, the taste and texture will differ. Spelt flour usually yields a nuttier flavor and denser crumb.
2. What if my dough doesn’t rise?
If the dough fails to rise, check the yeast’s expiration date and ensure the water was not too hot. If cold, let it sit in a warmer spot longer.
3. How can I add more flavor to the bread?
You can incorporate herbs, spices, or seeds into the dough. Fresh or dried rosemary, thyme, or even garlic powder can elevate the flavor significantly!
4. How long will the bread last?
When stored properly, the bread can last up to 4-5 days at room temperature. Refrigeration can extend its life but may affect its crustiness.
5. Can I make this recipe gluten-free?
This particular recipe is specifically for spelt flour, which contains gluten. However, you can use a gluten-free flour blend, but you may need to adjust the liquid amounts and add a binding agent like xanthan gum.
Fresh Milled Flour Crusty Spelt Bread
Ingredients
Method
- Mill the spelt flour if using whole grains to release essential oils.
- In a large bowl, combine the flour with sea salt and instant yeast, keeping the yeast and salt separated.
- Gradually add warm water to the dry mixture and stir until a shaggy dough forms.
- Cover the bowl and let the dough rise at room temperature until doubled in size, about three hours.
- Transfer the dough to a floured surface, fold edges into the center, flip over, and shape into a tight ball.
- Place the shaped loaf on parchment paper, dust with flour, and let it rise for 20-30 minutes.
- Preheat your oven to 450°F with the Dutch oven and lid inside.
- Transfer the loaf into the hot Dutch oven and bake covered for 35 minutes, then uncover and bake for an additional 10-20 minutes.
- Remove the loaf from the oven and let cool on a wire rack.




Leave a Reply