
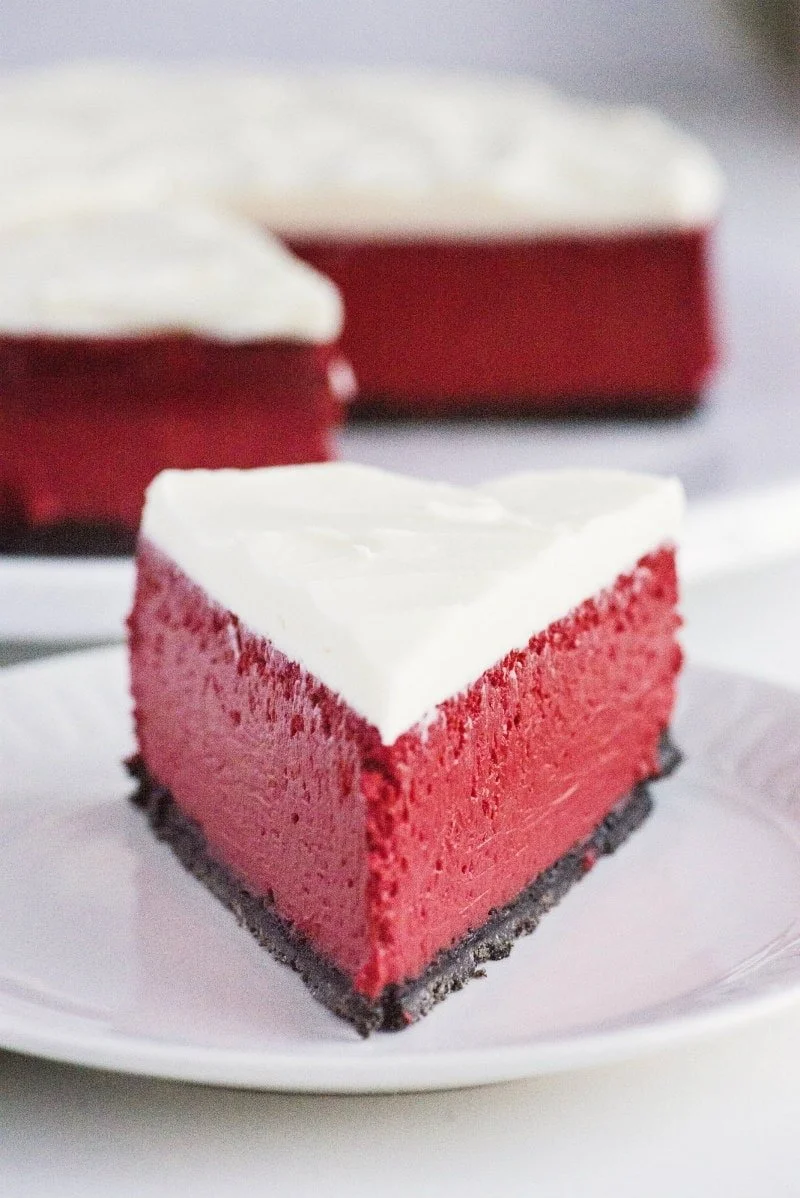
Red Velvet Cheesecake is a luxurious dessert that combines the velvety texture of cheesecake with the rich, classic flavors of red velvet cake. This recipe is perfect for those special occasions when you want to impress friends and family or simply indulge in a treat that feels both decadent and comforting. With its creamy, smooth, and slightly tangy filling, along with a crispy chocolate crust, this dessert not only delights the palate but also catches the eye with its striking color. Whether it’s a holiday gathering or a simple family dinner, this red velvet cheesecake will become a cherished favorite. Follow this step-by-step guide to create a show-stopper dessert that is easier to make than you might think!
Ingredients
To make the perfect Red Velvet Cheesecake, you’ll need the following ingredients:
- 17 OREO cookies (with cream intact), crushed into fine crumbs, providing a crispy base that pairs beautifully with the creamy filling.
- 1/4 cup (1/2 stick) butter, melted, which adds richness and helps bind the crust.
- 1 tablespoon granulated white sugar to sweeten the crust slightly and enhance the flavors.
- 24 ounces (3 packages) cream cheese, at room temperature, creating a luxuriously creamy filling that’s simply irresistible.
- 1½ cups granulated white sugar that balances the creaminess with sweetness.
- 4 large eggs, lightly beaten, contributing to the cheesecake’s smooth texture.
- 3 tablespoons unsweetened cocoa powder for a hint of chocolate flavor, enriching the dessert’s profile.
- 1 cup sour cream providing a slight tang and moisture.
- 1/2 cup buttermilk, which adds richness and helps the cheesecake rise.
- 2 teaspoons vanilla extract for a warm, aromatic note.
- 1 teaspoon distilled white vinegar to enhance the flavors and improve the cheesecake’s texture.
- 2 ounces red food coloring, giving the cheesecake its signature hue.
- 3 ounces cream cheese – for the icing, this keeps the topping smooth and creamy.
- 1/4 cup (1/2 stick) butter, at room temperature – to make the icing rich and delicious.
- 2 cups powdered sugar, sifted to achieve a smooth consistency for the icing.
- 1 teaspoon vanilla extract for additional flavor in the icing.
- Mint sprigs for garnish (optional) to add a pop of color and freshness to the final presentation.
Step-by-Step Directions
-
Prepare the Crust: In a mixing bowl, stir together the crushed OREO cookies, melted butter, and sugar until well combined. Spray the bottom and sides of a 9-inch springform pan with nonstick spray. Press the crust mixture into the bottom of the pan, ensuring an even layer. (Note: You do not need to bake the crust. The video contains an error regarding this step!)
-
Preheat the Oven: Set your oven to preheat at 325°F. Prepare a water bath by filling a large roasting pan with about 1 inch of water, which will help create a moist baking environment for the cheesecake.
-
Mix the Filling: In a large bowl, use an electric mixer to combine the room-temperature cream cheese and granulated sugar on medium-low speed for about 1 minute. Then, add the lightly beaten eggs, cocoa powder, sour cream, buttermilk, vanilla extract, vinegar, and red food coloring. Mix on low speed just until everything is fully combined.
-
Assemble the Cake: Pour the cheesecake batter into the prepared crust. If using a water bath, take two sheets of heavy-duty aluminum foil and layer them on top of one another. Place the springform pan on the foil and wrap it gently around the pan, ensuring it is tightly sealed. Carefully place this wrapped pan into the water bath in your preheated oven. Alternatively, if not using a water bath, simply place the springform pan on a rack above the pan of water.
-
Bake: Bake for 10 minutes at 325°F, then reduce the temperature to 300°F. Continue to bake for an additional 75 minutes or until the center is firm – it may take an extra 15 minutes, depending on your oven. The cheesecake should not be jiggly in the middle.
-
Cool the Cheesecake: Once baked, turn off the oven and let the cheesecake stand in the oven for about 30 minutes. Carefully remove the cheesecake from the water bath and place it on a wire rack. Using a thin knife, run it around the edges of the cheesecake to loosen it from the pan, which helps prevent cracking. Allow it to cool for a few hours, until it reaches room temperature, then cover and chill for at least 8 hours or overnight.
-
Prepare the Icing: Beat the cream cheese and room temperature butter together at medium speed using an electric mixer until smooth. Gradually add the sifted powdered sugar and vanilla extract, mixing until you achieve a smooth icing consistency.
-
Top the Cheesecake: Once the cheesecake has chilled and set, remove the sides of the springform pan. Spread the cream cheese icing evenly on top of the cheesecake. If desired, garnish with mint sprigs for a nice, fresh touch.
-
Serve and Enjoy: Keep the cheesecake refrigerated until it’s time to serve. Slice it up and enjoy the creamy, rich flavors with friends and family!
Tips & Tricks
-
Room Temperature Ingredients: Ensure that your cream cheese and eggs are at room temperature for the smoothest batter. This helps in mixing and achieving the desired creamy texture.
-
Avoid Cracking: If you’re concerned about cracks on the cheesecake’s surface, don’t worry. The icing will cover up any imperfections. Baking it using the water bath method might help prevent this, but it isn’t absolutely necessary.
-
Experiment with Toppings: Feel free to customize the cheesecake by adding fresh berries, chocolate shavings, or a drizzle of chocolate sauce on top of the icing for added flavor.
Serving Suggestions & Pairings
Red Velvet Cheesecake is perfect for a variety of occasions. Serve it at birthday parties, holiday dinners, or simply indulge on a cozy evening at home. It pairs wonderfully with a cup of coffee or tea, and if you want to make it a complete dessert experience, consider serving it alongside whipped cream or vanilla ice cream to complement the flavors.
Nutritional Information
While indulging in this Red Velvet Cheesecake, keep in mind a general estimation of the nutritional information per slice (assuming 12 servings). Each slice could contain around 500 calories, with approximately 35g of fat, 40g of carbohydrates, and 7g of protein. Enjoy this delicious cake as an occasional treat and balance it with nutritious meals throughout the day.
Storing Tips & Variations
To store your Red Velvet Cheesecake, cover it tightly with plastic wrap or foil and keep it refrigerated. It can last for up to a week in the fridge. If you want to freeze it, ensure it’s well-wrapped and label it with the date. This cheesecake can be frozen for up to 3 months, and you can thaw it overnight in the refrigerator before serving.
For variations, you could experiment with different toppings! Incorporate crushed nuts, fresh fruits, or even a layer of chocolate ganache for a more extravagant dessert.
Conclusion
Red Velvet Cheesecake is a delightful treat that is sure to please anyone with a sweet tooth. Its beautiful presentation and divine flavor make it worth every effort in the kitchen. Give this recipe a try and share your baking journey with fellow enthusiasts. Enjoy the satisfaction of creating a delicious dessert that is bound to impress!
FAQs
-
Can I use a different type of cookie for the crust?
Yes, while the OREO crust adds a great chocolatey flavor, you could also use graham crackers or chocolate wafers for a different taste. -
Is it necessary to use a water bath?
While a water bath helps achieve a smooth texture, it’s not mandatory. You can bake it without one if preferred. -
Can I make this cheesecake ahead of time?
Absolutely! This cheesecake is perfect for making in advance. Just be sure to chill it in the refrigerator for at least 8 hours or overnight before serving. -
What can I do if my cheesecake cracks?
If your cheesecake cracks during baking, don’t worry! The icing can cover any imperfections. -
Can I use low-fat cream cheese?
While low-fat cream cheese can be used, it may result in a slightly different texture and flavor profile. For the best results, full-fat cream cheese is recommended.
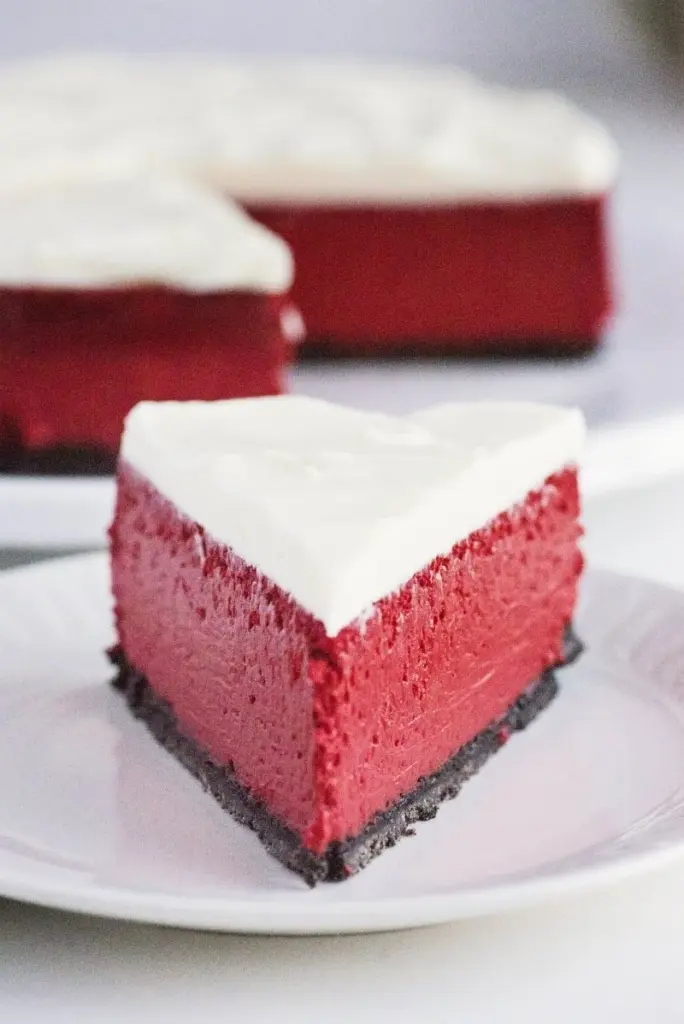
Red Velvet Cheesecake
Ingredients
Method
- In a mixing bowl, stir together the crushed OREO cookies, melted butter, and sugar until well combined.
- Spray the bottom and sides of a 9-inch springform pan with nonstick spray.
- Press the crust mixture into the bottom of the pan, ensuring an even layer.
- Preheat your oven to 325°F and prepare a water bath.
- In a large bowl, combine the cream cheese and granulated sugar using an electric mixer on medium-low speed for about 1 minute.
- Add the lightly beaten eggs, cocoa powder, sour cream, buttermilk, vanilla extract, vinegar, and red food coloring, mixing on low speed until fully combined.
- Pour the cheesecake batter into the prepared crust.
- Wrap the springform pan in aluminum foil and place it in the water bath, or directly on a rack above the pan of water.
- Bake for 10 minutes at 325°F, then reduce the temperature to 300°F and continue to bake for an additional 75 minutes.
- Let the cheesecake cool in the oven for about 30 minutes, then cool to room temperature.
- Beat the cream cheese and room temperature butter together until smooth.
- Gradually add the sifted powdered sugar and vanilla extract, mixing until smooth.
- Once chilled, remove the sides of the springform pan and spread the icing evenly on top.
- Garnish with mint sprigs if desired.
- Keep refrigerated until serving. Enjoy!



Leave a Reply