
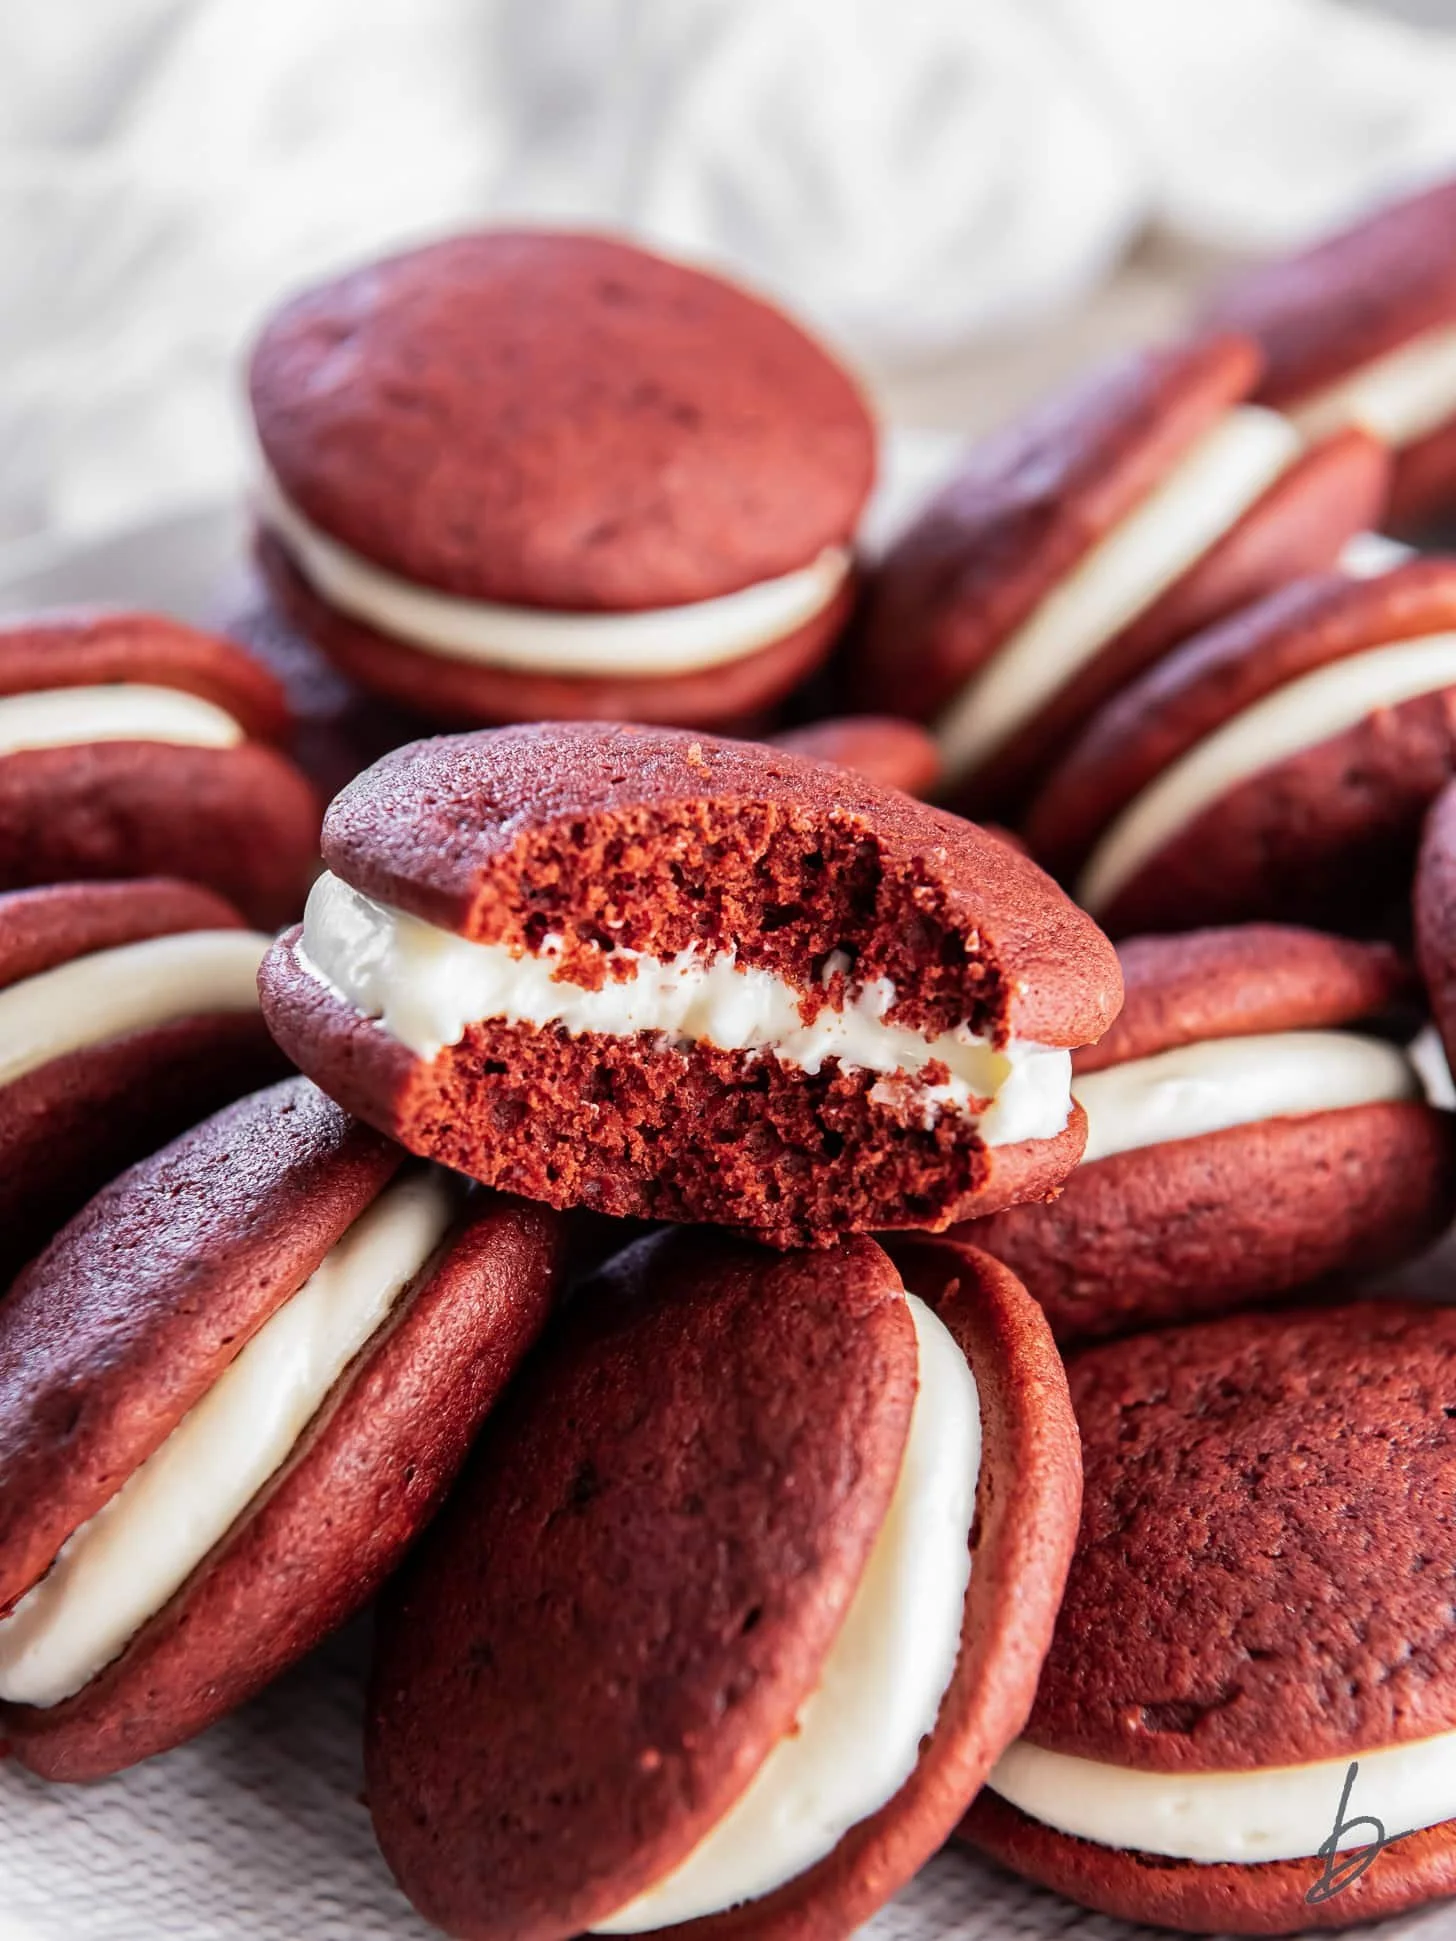
Red Velvet Whoopie Pies are a delightful twist on traditional whoopie pies, combining the rich, decadent flavor of red velvet cake with fluffy frosting sandwiched between two soft cookies. These tender treats boast a gorgeous crimson hue that is not only visually appealing but also evokes feelings of nostalgia and joy. Perfect for sharing at gatherings or enjoying as a sweet indulgence at home, Red Velvet Whoopie Pies are comforting, simple to make, and oh-so-delicious. Whether you are a seasoned baker or a novice in the kitchen, this step-by-step recipe will guide you towards creating these charming desserts with ease.
Ingredients
To create the luscious Red Velvet Whoopie Pies, you will need the following ingredients:
-
2 cups (250 g) all-purpose flour: The base of your cookies, providing structure and a lovely chewy texture.
-
1/4 cup (25 g) natural unsweetened cocoa powder: Adding a touch of rich chocolate flavor without overpowering the classic red velvet essence.
-
1 teaspoon baking soda: This will help your whoopie pies rise perfectly, giving them a soft, fluffy texture.
-
1/2 teaspoon sea salt: Enhancing the sweetness and balancing flavors for a harmonious taste.
-
½ cup (113 g or 1 stick) unsalted butter (room temperature): Ensures that the cookies will be rich and buttery, enhancing overall flavor.
-
1 cup (200 g) light brown sugar: Imparts a fudgy sweetness that wonderfully complements the red velvet.
-
1 large egg (room temperature): Acts as a binding agent, ensuring that everything holds together beautifully.
-
1 teaspoon pure vanilla extract: Infuses a lovely aromatic scent and depth of flavor.
-
3/4 cup (180 ml) buttermilk (room temperature): Adds moisture and a slight tang which is characteristic of red velvet cake.
-
1 teaspoon gel red food coloring: The star of the show; it turns these cookies into stunning red velvet treats.
For the cream cheese frosting:
-
1 cup (225 g or 8 oz) block-style cream cheese (room temperature): Creaminess and tanginess bring balance to your sweet filling.
-
¼ cup (57 g) unsalted butter (room temperature): To add richness to the frosting.
-
2 cups (240 g) confectioners’ sugar (sifted): For sweetness and a smooth texture.
-
½ teaspoon pure vanilla extract: A touch of vanilla enhances the sweetness of the frosting.
-
Pinch of salt: Balancing sweetness while adding depth to the flavor.
Step-by-Step Directions
-
Preheat the Oven: Begin by preheating your oven to 350℉ (175℃). Line a baking sheet with parchment paper and set it aside, ensuring a smooth baking experience.
-
Mix Dry Ingredients: In a large bowl, whisk together the all-purpose flour, cocoa powder, baking soda, and sea salt. This step is crucial as it evenly distributes the dry elements, creating a well-balanced cookie base.
-
Cream Butter and Sugar: In the bowl of a stand mixer or using a hand mixer, beat the room-temperature unsalted butter and light brown sugar on medium-high speed until the mixture becomes light and fluffy, which should take about 3 minutes.
-
Incorporate Wet Ingredients: To the butter and sugar mixture, add in the large egg, pure vanilla extract, and gel red food coloring. Continue mixing. Now, pour in the buttermilk (don’t worry if it looks slightly curdled). Scrape down the sides of the bowl as needed to ensure everything is well-integrated.
-
Combine Mixtures: Gradually add the previously whisked dry ingredients to the wet mixture. Stir until just combined, being careful not to overmix as it can lead to dense cookies.
-
Scoop the Batter: Using a medium cookie scoop, dollop the batter onto your prepared baking sheet. Leave about 2 inches of space between each scoop to allow for spreading while baking.
-
Bake the Cookies: Place the baking sheet in the preheated oven and bake for about 10 to 12 minutes. The cookies are done when they are soft and slightly springy to the touch. Once baked, transfer them to a wire rack and allow to cool completely.
-
Prepare the Frosting: Meanwhile, in a clean mixing bowl, beat together the cream cheese and unsalted butter until creamy. Gradually add the sifted confectioners’ sugar and mix until combined. Finally, add in the vanilla extract and a pinch of salt for balanced sweetness.
-
Frost the Cookies: Transfer the creamy frosting into a piping bag fitted with your desired tip. To assemble the whoopie pies, match pairs of cookies to ensure they are similar in size. Pipe a generous amount of frosting onto the bottom of one cookie, then gently press the bottom of the matching cookie on top to create a delightful sandwich. Repeat with the remaining cookies.
Tips & Tricks
To elevate your Red Velvet Whoopie Pies, consider these helpful tips:
- Room Temperature Ingredients: Allow your butter, cream cheese, and eggs to reach room temperature for better mixing, ensuring a smooth batter and frosting.
- Don’t Skimp on Cooling: Make sure the cookies cool completely before frosting. This prevents the frosting from melting and losing its shape.
- Gel Food Coloring: For a more vibrant red color, opt for gel food coloring as it provides stronger color than liquid versions.
- Flavor Variations: Add a hint of almond extract to the frosting for a unique twist, or mix in some mini chocolate chips to the batter for added texture.
Serving Suggestions & Pairings
Red Velvet Whoopie Pies are fantastic for various occasions! They are perfect for:
- Birthday Parties: A colorful and delicious dessert that appeals to both kids and adults.
- Holiday Gatherings: Their rich red color makes them a festive treat for celebrations like Valentine’s Day and Christmas.
- Sweet Snack: Enjoy them as an afternoon treat with your favorite cup of coffee or tea.
- Picnics and Potlucks: Easy to transport and share, they are always a hit at gatherings.
Nutritional Information
A serving of one Red Velvet Whoopie Pie contains approximately:
- Calories: 250
- Fat: 12g
- Carbohydrates: 35g
- Protein: 2g
These treats, while indulgent, can fit into a balanced diet. Enjoy them in moderation as part of a varied meal plan.
Storing Tips & Variations
For optimum freshness:
- Storing: Keep your whoopie pies in an airtight container at room temperature for up to 3 days. For longer storage, place them in the refrigerator for up to a week.
- Freezing: Freeze unfilled cookies in a single layer. Once completely frozen, store them in an airtight container for up to 3 months. Frost before serving.
- Variations: Try swapping the cream cheese frosting with vanilla buttercream or a dairy-free frosting for a different flavor experience.
Conclusion
Red Velvet Whoopie Pies are not just treats; they are moments of joy and comfort in every bite. Their tender, cake-like texture combined with the creamy filling brings nostalgia, making them perfect for sharing with loved ones. I encourage you to try this recipe and indulge in the delightful experience these whoopie pies promise. Don’t forget to share your creations and experiences!
FAQs
-
Can I use liquid food coloring instead of gel?
Yes, but gel food coloring produces a brighter color without adding liquid to the batter. Use sparingly. -
What can I substitute for buttermilk?
You can mix 3/4 cup of milk with 1 tablespoon of vinegar or lemon juice, letting it sit for 5 minutes as a buttermilk substitute. -
How do I prevent my cookies from spreading too much while baking?
Ensure your dough is well-chilled between batches, and avoid overmixing to maintain the right texture. -
Can I make these ahead of time?
Absolutely! You can bake the cookies ahead of time and frost them just before serving for the best texture. -
What’s the best way to serve these whoopie pies?
Serve them at room temperature to enjoy their soft texture fully. Pair with a side of milk or coffee for a delightful treat.
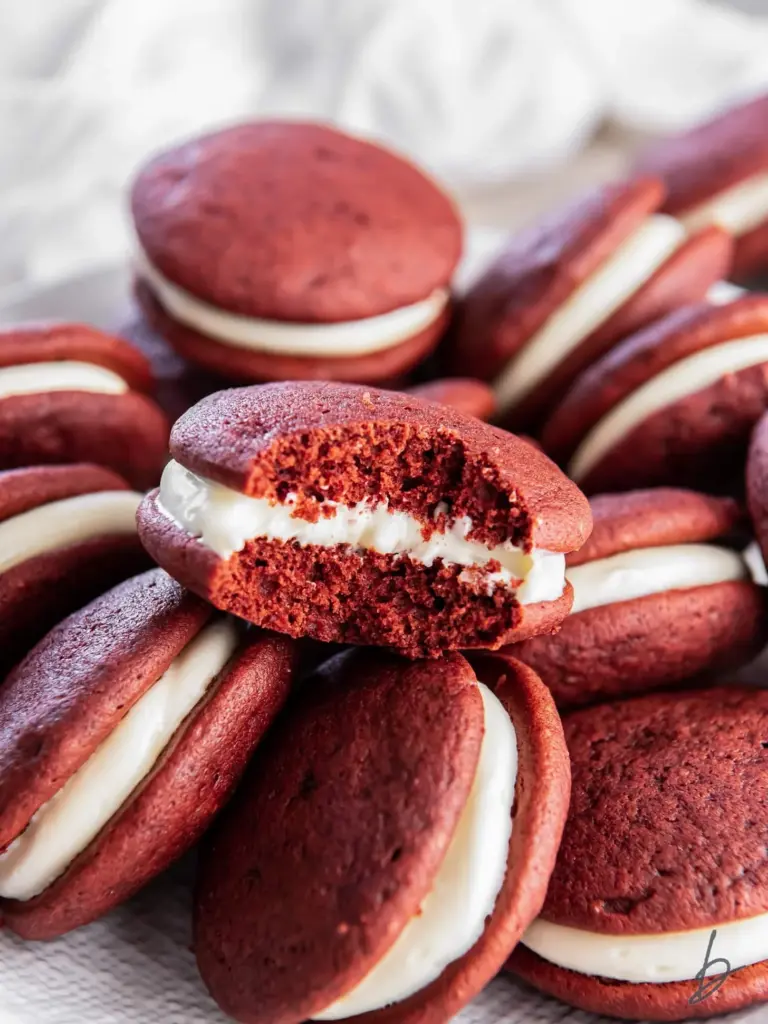
Red Velvet Whoopie Pies
Ingredients
Method
- Preheat your oven to 350℉ (175℃) and line a baking sheet with parchment paper.
- In a large bowl, whisk together the all-purpose flour, cocoa powder, baking soda, and sea salt.
- In a stand mixer, beat the unsalted butter and light brown sugar until light and fluffy, about 3 minutes.
- Add the egg, vanilla extract, and red food coloring to the butter mixture and mix well.
- Pour in the buttermilk and mix until just combined.
- Gradually add the dry ingredients to the wet mixture and stir until just combined.
- Using a medium cookie scoop, dollop the batter onto the baking sheet with about 2 inches of space between each.
- Bake for about 10 to 12 minutes until soft and slightly springy. Transfer to a wire rack to cool completely.
- In a clean bowl, beat the cream cheese and butter until creamy.
- Gradually add the sifted confectioners’ sugar and mix until combined. Add the vanilla extract and a pinch of salt.
- Match pairs of cookies for size and pipe frosting onto the bottom of one cookie, then gently press the other cookie on top.



Leave a Reply