
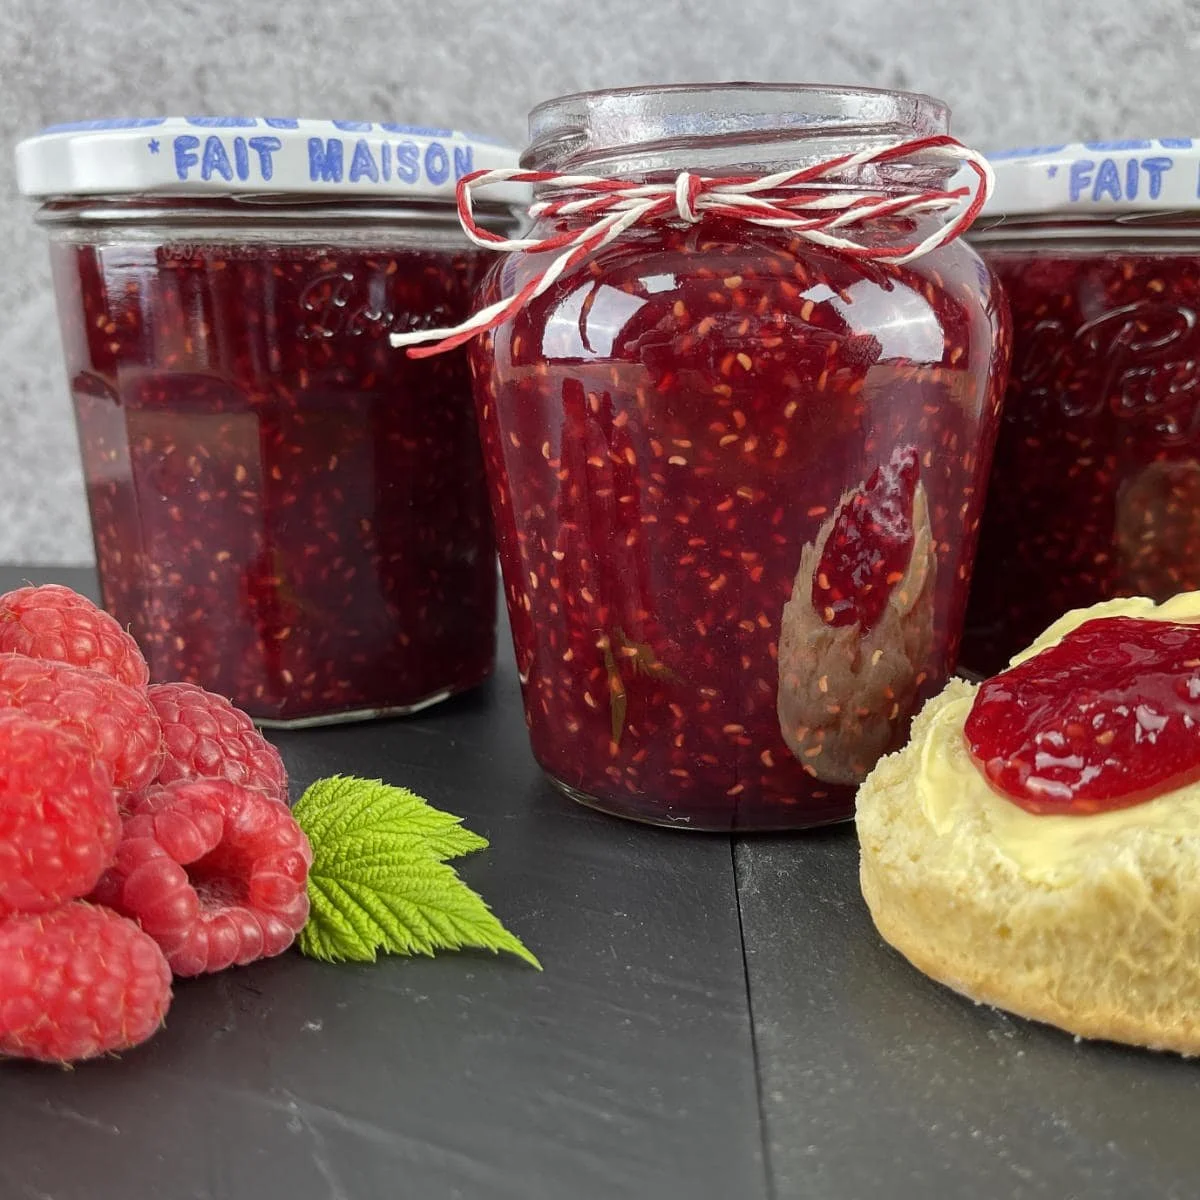
Homemade Raspberry Jam With Pectin is a delightful spread that captures the essence of summer in every jar. Its vibrant color and sweet-tart flavor evoke fond memories of berry-picking days and cozy family breakfasts. This easy, comforting recipe brings the joy of homemade preserves into your kitchen with a simple, step-by-step approach. Making your own jam not only fills your home with an aromatic fragrance but also sets the stage for countless delicious pairings and treats.
Ingredients
The beauty of this Homemade Raspberry Jam lies in its simplicity. For this recipe, you will need:
- 1 kg ripe raspberries – These juicy gems should be washed and dried, ready to burst with flavor. Their deep red hue adds a vibrant touch to your jam while promising a sweet and slightly tangy taste.
- 1 kg jam sugar (sugar with added pectin) – This special sugar is crucial for achieving that perfect gel-like consistency, transforming your fruity mixture into a smooth, spreadable delight.
Step-by-Step Directions
Making your own raspberry jam is straightforward, and the process is as enjoyable as the end result. Here’s how to get started:
-
Prepare the Raspberries: Begin by placing half of your ripe raspberries in a preserving pan. Set the heat to gentle and let the berries warm up.
-
Crush and Simmer: Using a potato masher, crush the raspberries gently. This releases their juices and sets the stage for a luscious jam. Simmer this mixture for a few minutes to enhance the flavor.
-
Add Remaining Raspberries: Once your first half is simmering, tip in the rest of the raspberries, leaving them whole for that delightful pop of fruitiness in your jam. Stir the mixture gently to incorporate.
-
Incorporate Jam Sugar: Sprinkle in the jam sugar, stirring occasionally. Ensure that the sugar completely dissolves before moving on to the next step.
-
Bring to a Boil: Increase the heat to medium and bring the mixture to a gentle rolling boil. Cook for about 5 minutes. This is where the magic happens!
-
Check for Setting Point: To know when your jam is ready, use a jam thermometer—when it reaches 104℃ (220°F), you’re there! Alternatively, use the wrinkle test: drop a small amount of jam on an ice-cold saucer and push it gently with your fingertip. If it wrinkles, your jam is set; if not, boil for a couple more minutes.
-
Transfer to Jars: Once you achieve the desired setting point, use a ladle to carefully transfer the hot jam into warm, sterilized jars. Seal them immediately to maintain freshness.
-
Store Properly: Let the jars cool to room temperature before storing them in a cool, dry place, away from sunlight. Your homemade raspberry jam should be enjoyed within 12 months.
Tips & Tricks
- Sterilization: Ensure your jars are properly sterilized to prolong the shelf life of your jam. You can do this by placing clean jars in a preheated oven at 160°C (320°F) for about 10 minutes.
- Flavor Boost: Consider adding a splash of freshly squeezed lemon juice or zest to enhance the flavor profile of your raspberry jam. It adds a lovely brightness and balances the sweetness.
Serving Suggestions & Pairings
This Homemade Raspberry Jam is incredibly versatile! Here are some delightful ways to serve it:
- Breakfast: Spread it on warm toast or fresh-from-the-oven scones. Pair with clotted cream for an indulgent afternoon tea.
- Desserts: Swirl it through yogurt or drizzle over ice cream for a fruity touch. It also makes a fantastic filling for cakes and pastries.
- Cheese Pairing: Pair your jam with a creamy brie or sharp cheddar for a delicious cheese board.
Nutritional Information
Homemade Raspberry Jam offers an array of health benefits while still being a treat. Each tablespoon contains approximately:
- Calories: 50-60
- Sugar: 13g
- Fat: 0g
- Carbohydrates: 14g
- Fiber: 1g
Remember to enjoy it in moderation as part of a balanced diet.
Storing Tips & Variations
For optimal storage, keep your raspberry jam in a cool, dry place, away from direct sunlight. If you have leftover jam, consider freezing it in small containers for later use. Experiment with variations by mixing in a handful of crushed strawberries or blueberries for a berry medley jam!
Conclusion
Give this Homemade Raspberry Jam With Pectin a try and fill your kitchen with the delightful aroma of fresh raspberries! It’s a rewarding endeavor, and each jar tells a story of sweetness that you can share with family and friends. Don’t forget to come back and share your experience or any variations you tried!
FAQs
1. Can I use frozen raspberries instead of fresh ones?
Yes, you can use frozen raspberries! Just ensure they are thawed and drained before use, but you may need to adjust the cooking time.
2. How do I know my jam is set if I don’t have a thermometer?
If you don’t have a thermometer, use the wrinkle test on an ice-cold saucer. If it wrinkles when pushed, the jam is set.
3. Can I reduce the amount of sugar?
While you can experiment with sugar reduction, be aware that less sugar may affect the setting of your jam! It’s recommended to stick to the prescribed proportions for the best results.
4. How long will my jam last?
Stored in a cool, dry place, your homemade raspberry jam should last up to 12 months when sealed properly.
5. Can I make raspberry jam without pectin?
Yes, you can make raspberry jam without added pectin, but it can take longer to reach the right consistency as you’ll rely on the natural pectin from the fruit.
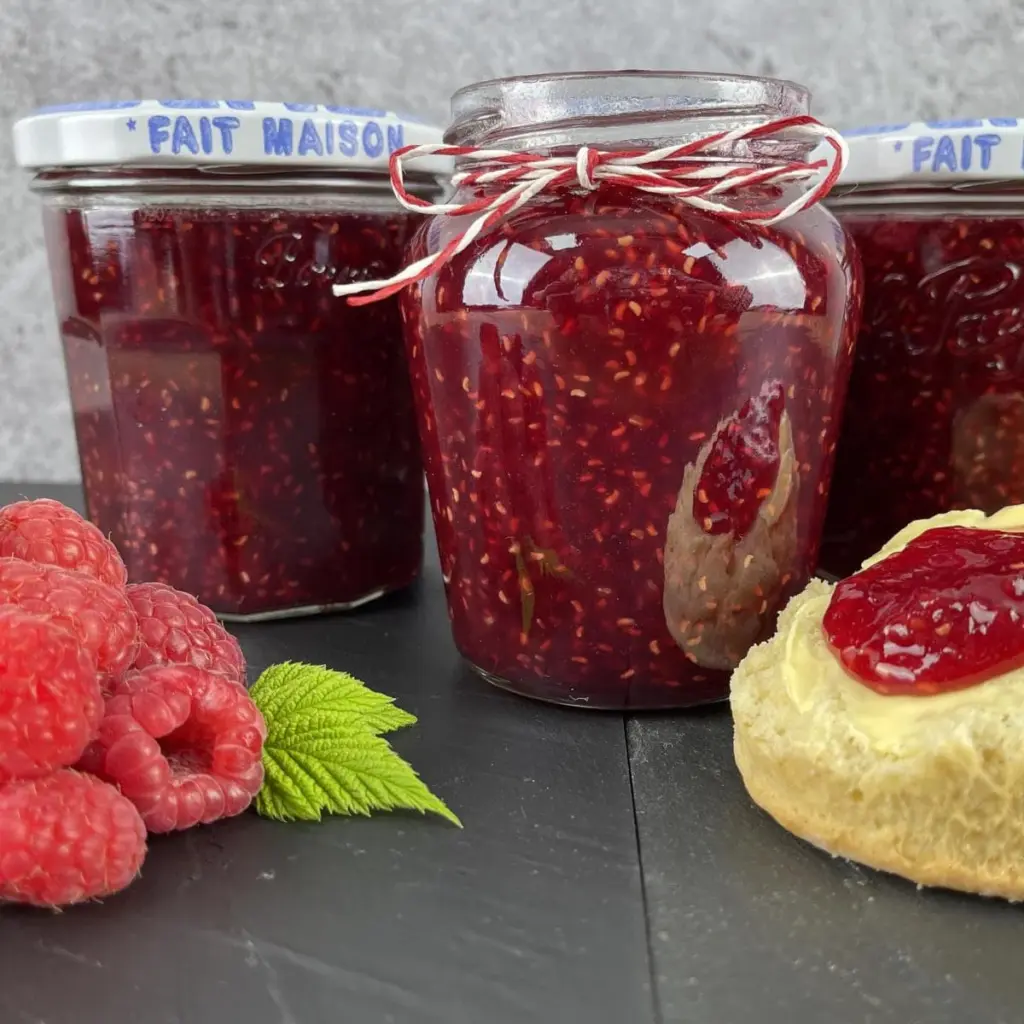
Homemade Raspberry Jam
Ingredients
Method
- Begin by placing half of your ripe raspberries in a preserving pan. Set the heat to gentle and let the berries warm up.
- Using a potato masher, crush the raspberries gently to release their juices.
- Simmer the crushed raspberries for a few minutes to enhance the flavor.
- Once the first half is simmering, add the remaining raspberries, leaving them whole for added texture.
- Sprinkle in the jam sugar, stirring until it completely dissolves.
- Increase the heat to medium and bring the mixture to a gentle rolling boil, cooking for about 5 minutes.
- Use a jam thermometer to check for the setting point (104℃ / 220°F) or perform the wrinkle test.
- Once the jam has reached the right consistency, transfer it into warm, sterilized jars using a ladle.
- Seal the jars immediately to maintain freshness.
- Let the jars cool to room temperature before storing them in a cool, dry place, away from sunlight.



Leave a Reply